The studio is an artist’s sacred space, their creative command center. For creatives their studio is home, whether it is physically inside the house or a car ride away. I can relate, having studied art history and painting in college and maintained a studio practice for 10 years.
I have also visited hundreds of visual artists’ studios. Regardless of the size, shape or location, each space looked and felt like it belonged to that particular person. It reflected their personality, the work they do, what inspires them, their creative process.
Sometimes, just as in the house or office, the studio can become the cause of overwhelm rather than inspiration. Below are five general tips to organize your artistic space, whether you are a sculptor, painter, printmaker, textile artist, jewelry maker (and the list goes on to include architects, writers, musicians and so many more).
1. Define Your Space
- Zoning: Divide your studio into specific zones. For visual creatives, this can include an area for photographing completed work if you do this yourself. This helps keep tools and materials organized, clean and easily accessible.
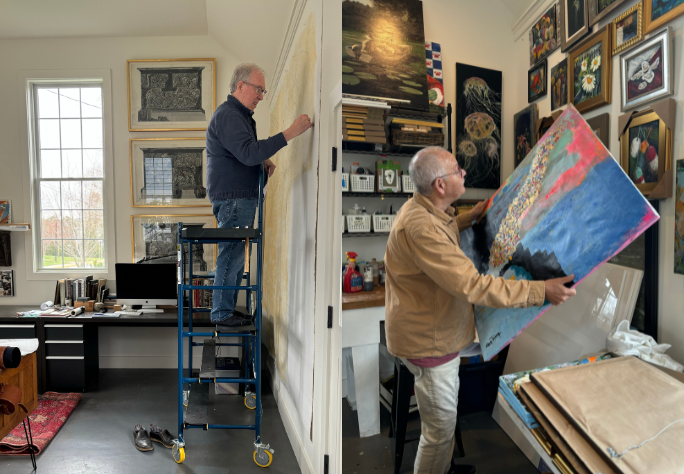
- Think Vertically: Maximize vertical space for art-making as well as for storage. Mobile scaffolding can make a sound investment if your works are large scale, and it can disassemble for storage when not in use.
2. Storage Solutions
- Furniture: Adjustable shelving units offer flexibility. Flat files and cabinets offer solutions for papers and other items that need to be stored flat or dust-free. For sustainable options, Habitat for Humanity ReStore or Goodwill are great resources.
- Clear Containers: Use transparent bins and containers to store tools and materials. This makes it easy to quickly see what’s inside.
- Rolling Carts: there are so many excellent options from second-hand kitchen carts to IKEA and Target.
3. Labels
- Label drawers, containers, and shelves. Improvise with painters tape or other materials (you don’t need to get a label maker). This simple step can save you time and frustration.
4. Digital Organization
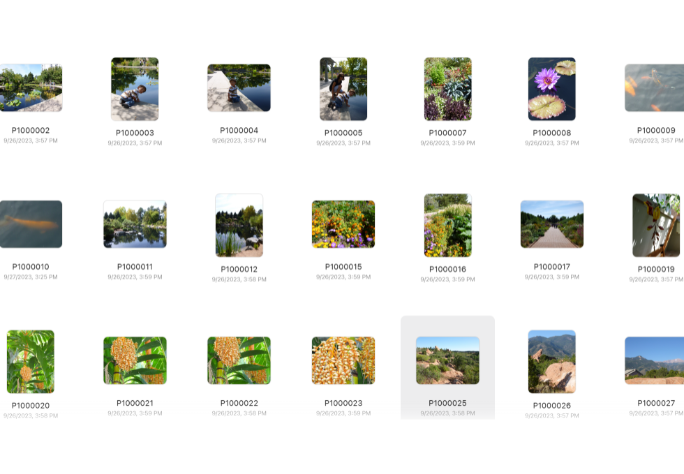
- File Management: Keep your digital files and photos organized within a clear folder structure and regularly back up your work to avoid losing data. Maintain three copies – on your computer, in the cloud and on an external hard drive.
- Reference Library: Maintain a digital library of reference images, tutorials and articles. There are many helpful apps that help keep everything in one place including Dropbox or Evernote.
5. Routine Maintenance
- Daily Reset: Spend a few minutes at the end of each day tidying up your workspace. This small habit can prevent clutter from accumulating and will help ground your energy the next time you step into your studio.
- Scheduled Deep Clean: Dedicate time each week or month to a deeper clean, including dusting furniture, organizing materials, and ensuring everything is in its designated place.
“Organizing” and “creativity” may seem like strange bedfellows, but they go hand in hand. Indeed they make a powerful pairing! Writing this post is actually inspiring me to carve out a small studio of my own (my table) for my new adventures in watercolor.
I’d love to see your creative happy place – connect with me on Facebook!
Courtesy of Mark and David Braly (who are featured in their beautiful studio)