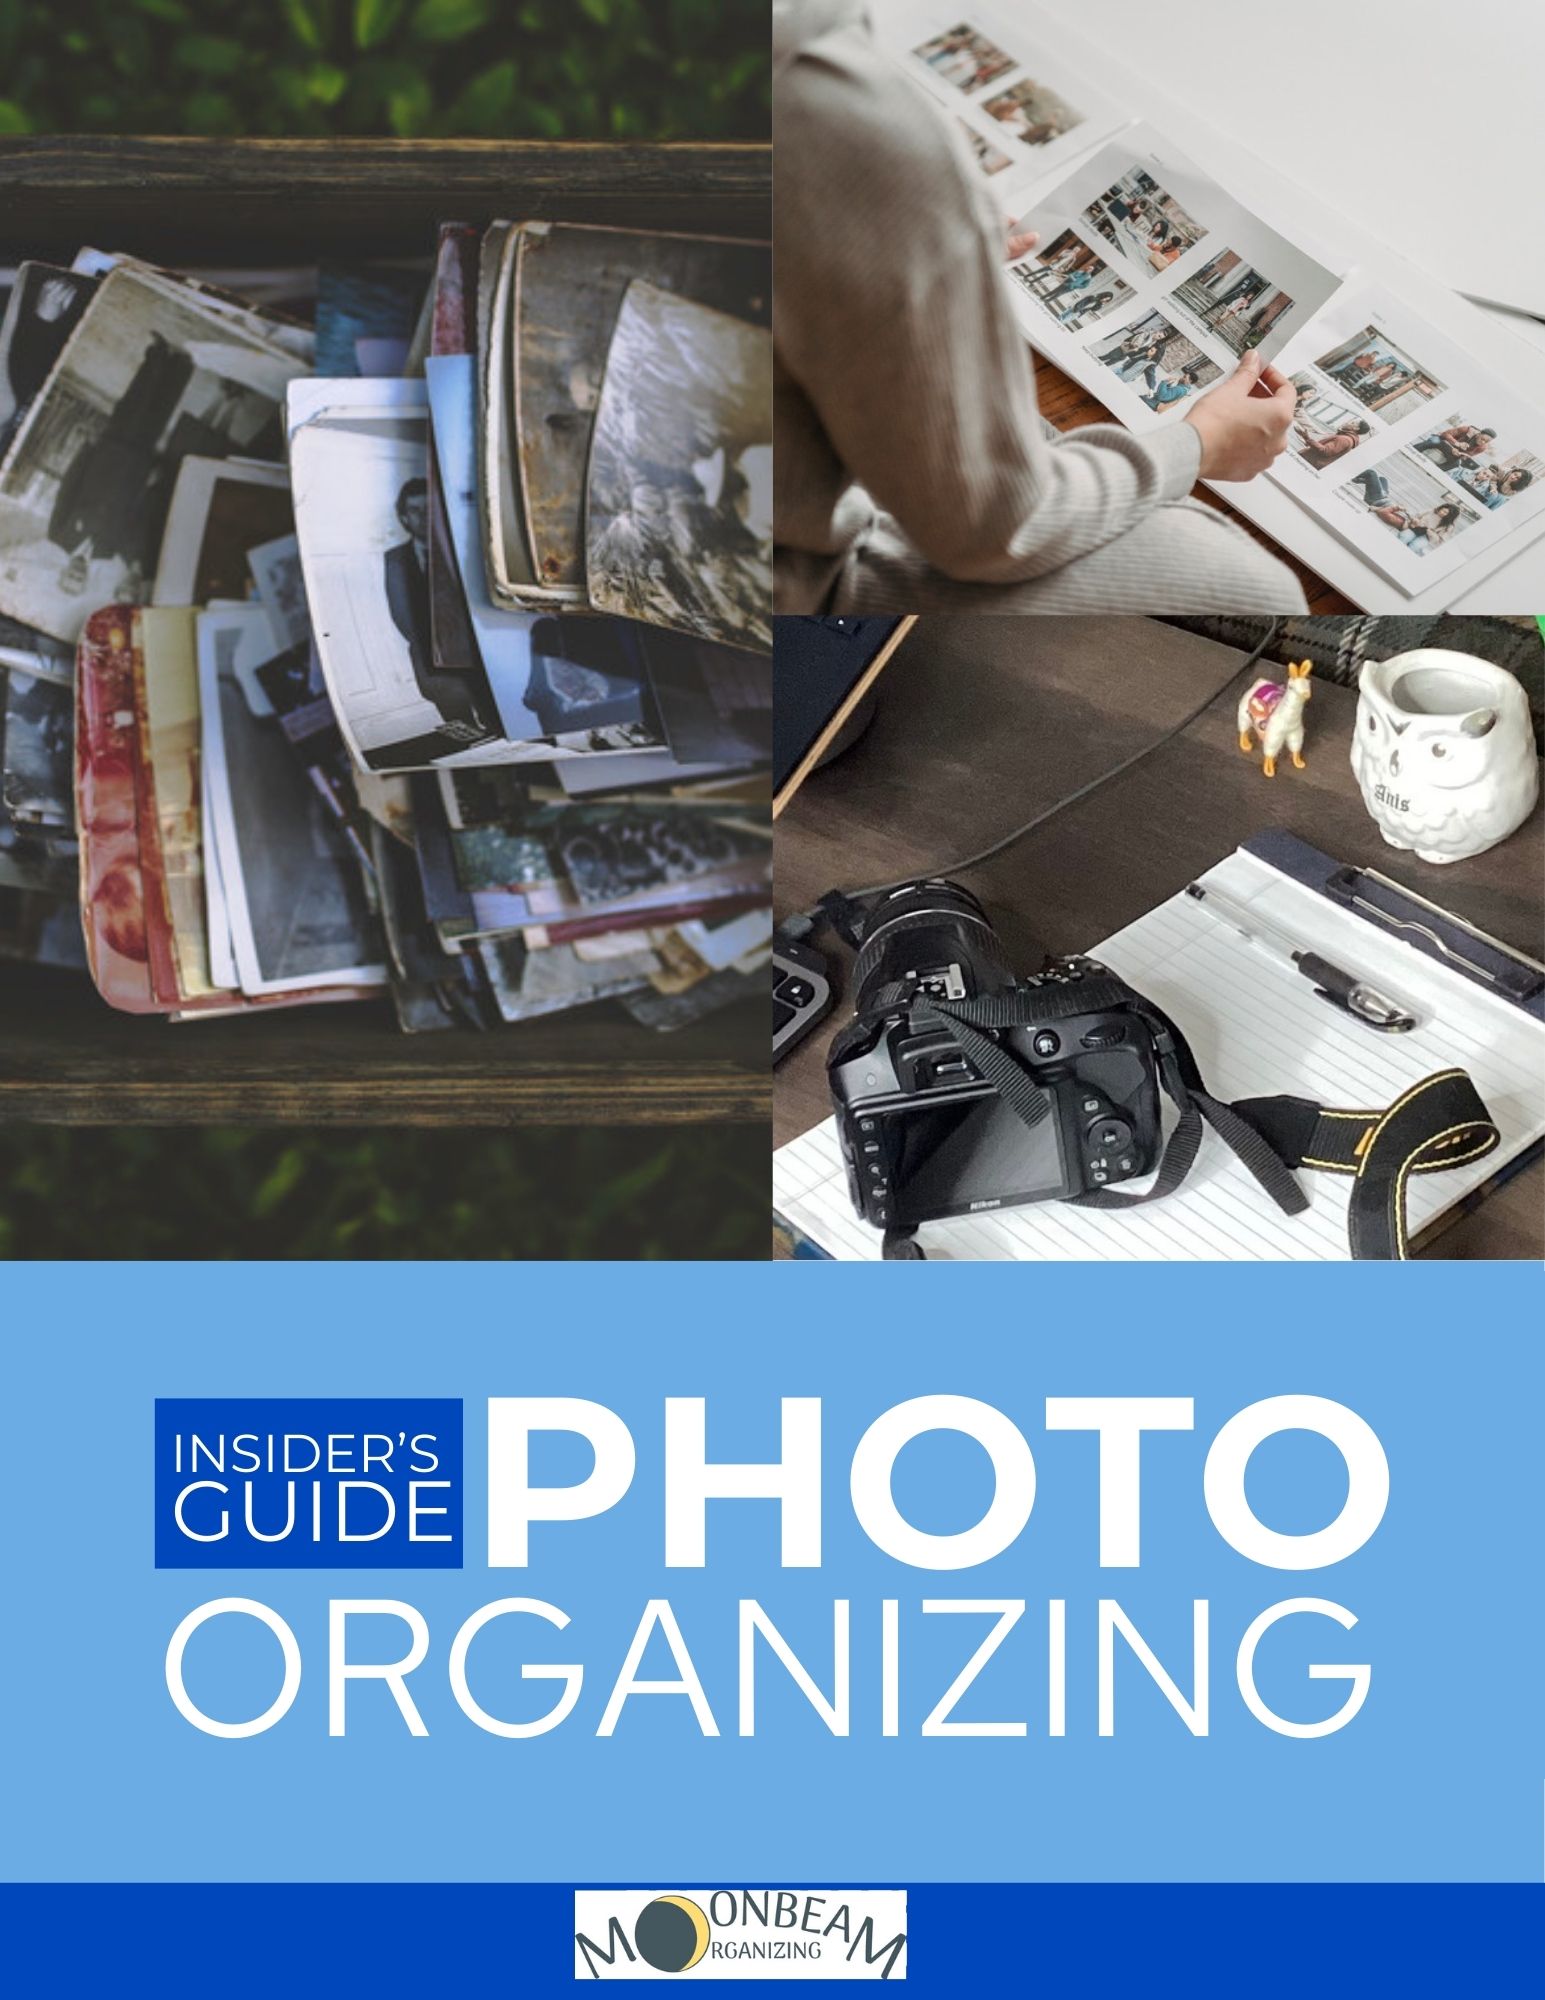
I remember our Polaroid camera in the 80s. The excitement of selecting the shot, framing the image, pushing down that button. And voila! After a second of vigorous shaking, that moment in time was captured to view (sometimes over and over again) and share. Today the cellphone camera offers instant gratification and the possibility of taking hundreds of pictures in a day.
One of the joys of taking photos is and has always been the sharing. Let’s organize that overflowing library of photos so we can share and celebrate our treasured personal memories with ease! Here are 7 tips to get our digital photos organized.
- Before starting any work, backup your computer and all of your mobile devices. This should be a routine practice to keep all of your data, including photos, safe in case of device failure or accidental deletions. You will want to backup your photos during the organizing process and afterwards. Use both an external hard drive and cloud storage service.
- Determine a central hub where you can consolidate all of the photos from various locations and do the organizing work. Photos live on computers, phones, and digital camera rolls but can also be scattered across multiple sites like DropBox, Facebook, Instagram, Shutterfly, Lightroom and others. The hub can be your computer or an external hard drive (if you also store job-related photos on your computer ) with at least 1 TB storage capacity.
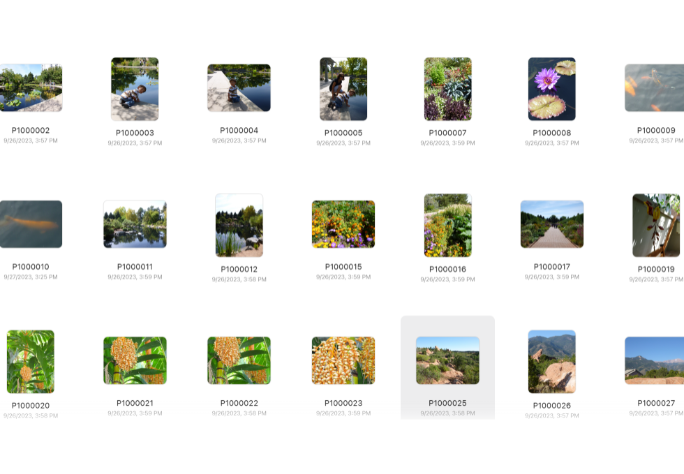
- Go through your digital photos, deleting duplicates and blurry shots. You’ll most likely see your total number of photos reduced by hundreds if not more after this step. This process takes time and can be overwhelming. Take it at your own pace. There are deduplication software like PhotoSweeper for Macs that can be a tremendous help. If putting on some music helps make it fun, do it! https://shotkit.com/songs-about-photography/
- Create a core organizing file structure that is not dependent on just one operating system or software. You don’t want to spend all this time getting your photos organized for an iMac or Lightroom, for example, to change to a PC or another photo management system later on. Start your file structure with a folder for each year. Each year’s folder will contain 12 subfolders starting with 01 January, 02 February, 03 March and so on. This basic structure allows for easy sorting in order by both Macs and PCs.
- Sort and organize photos into the folders within your new core file structure. Like Tip 3, this will take time. You can carve out a certain amount of time each day or week for this.
- Rename your photos with clear, descriptive filenames. This enhances searchability and helps you understand the content without opening each file. Keep the photo naming convention simple and standardized. Best practice recommends every photo begin with the date in this format YYYY-MM-DD (a dash or underscore symbol can be used). You can also further describe an image by adding a concise description of the event, for example 2022-04-27-Daniel Wedding 0001.
- Entering keywords or tagging or updating metadata will further refine searchability. Metadata is information that references other data. This can be the date or time a picture was taken, information about the camera, size of the image and descriptive information.
Finally, appreciate yourself and all the great organizing work you are doing! Hopefully these tips will help you bring together your photo collection, the visual representations of your past and present. As you do this organizing work, you may research, recall and piece together more information to create more rich and evocative stories…to celebrate…to share!